This is about the 4th time making Archers baby food but only the second time I have blogged about it. Before I did mainly vegetables but I got the okay from my pedi to introduce all different types of food to Archer. He is currently 5 months old, and eats like a champ. So far he has liked all types of food but his favorites are blueberries, pineapple, and green beans.
What you'll need:
Fruits
Vanilla Yogurt
Ice Cube Trays
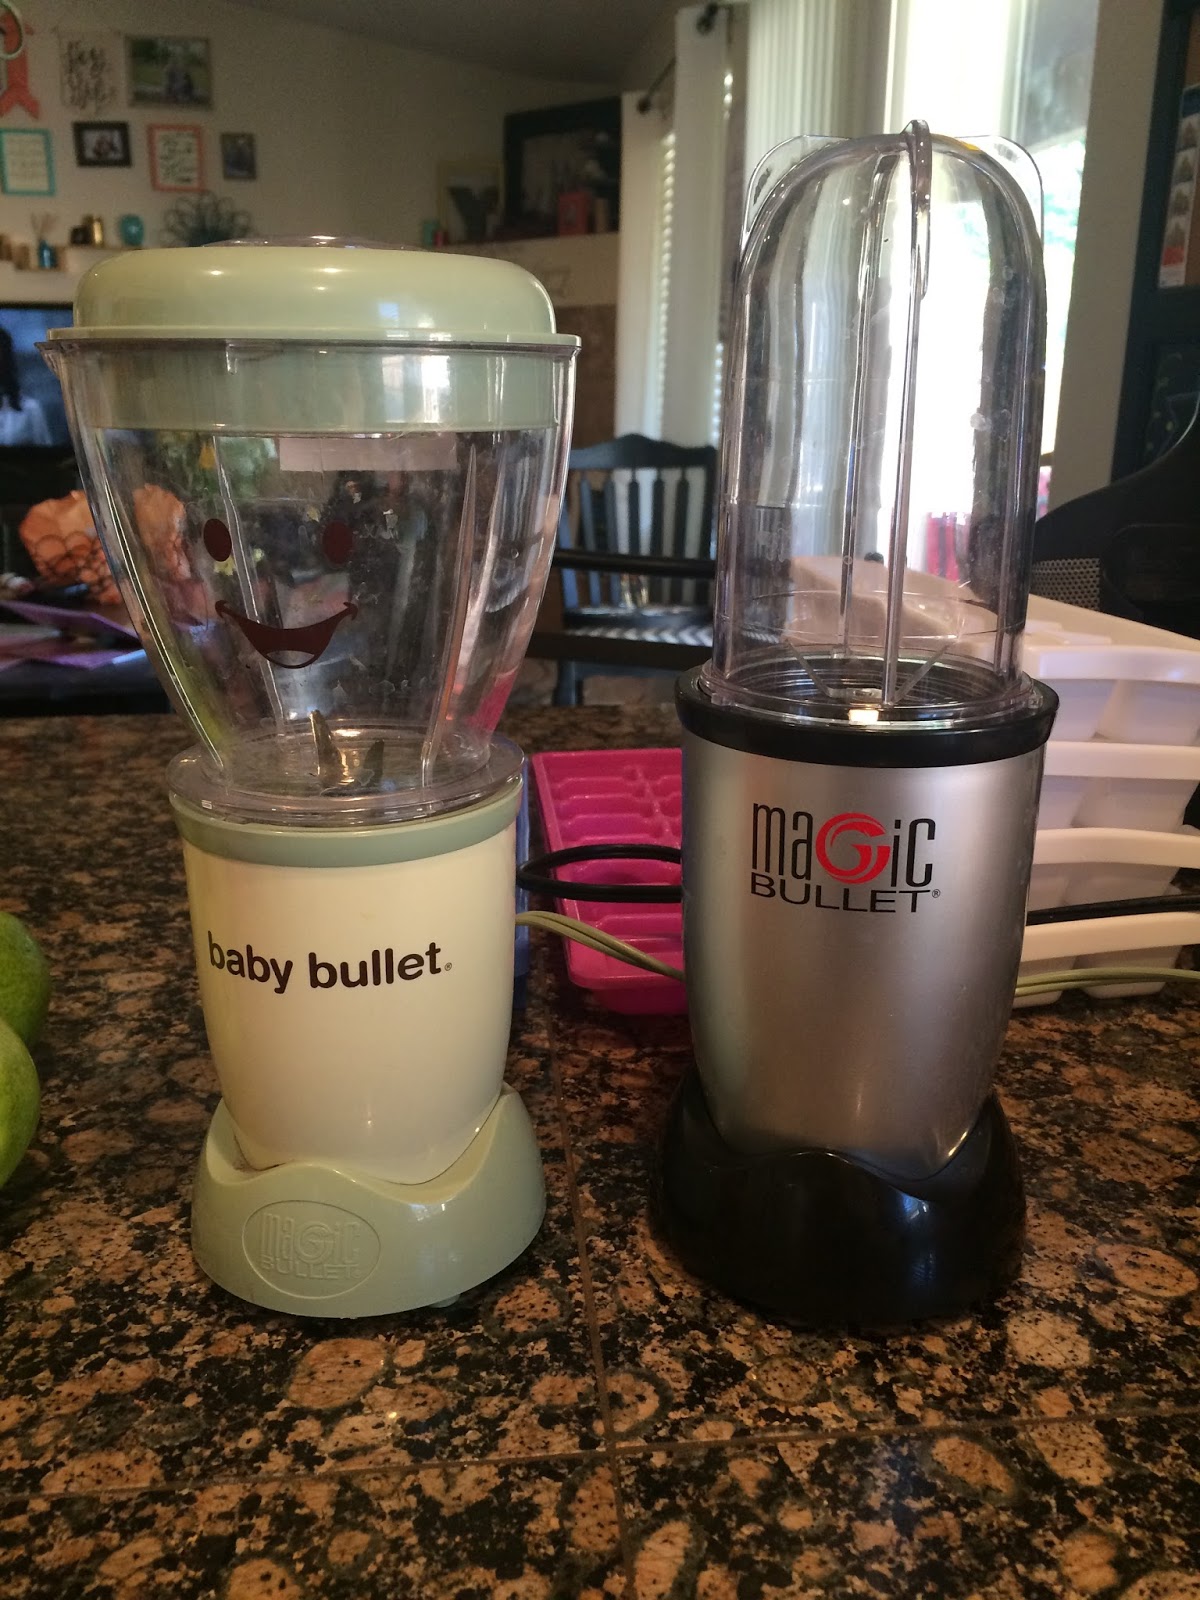
Blender (I use magic bullet & baby bullet)
knives
pots

Step 1: gather supplies. So today I decided to make pineapple, blueberries, mango, apples, peaches & pears. I went shopping and I normally buy everything fresh but today all the pineapples weren't ripe and they were out of blueberries. I bought the canned pineapple chunks & frozen blueberries.

Step 2: Wash! I wash all the fruits to make sure they are clean and then I peel them. I peel the following fruits BEFORE I cook: Mango, pears & apples.
Step 3: So T and I saw this super cool thing on face book where you use a drill to peel your apples? Well we gave it a go and it worked SO good. IT peeled those suckers so quick, we also did the pears and it worked perfect. So I cut them up into little pieces and throw into a bot of boiling water, (separate pots.) I let them boil until tender.
........In the meantime I start on the pineapple & blueberries. I throw the bag of blueberries into the microwave for 2 minutes and open and drain the pineapple. I use both a magic bullet and baby bullet (they are exactly the same honestly.) But by having two it allows T to do one and me to one which gets us done faster! So the pineapple and blueberries are super soft and moist so I don't have to add any formula or yogurt into them. I puree them and then put into the ice cube tray. ***Make sure to label your ice cube trays and write down what fruit is in what tray because they all tend to look the same colors and it is SO hard to tell apart after being frozen.**


Step 4: I get the pears and apples out and throw them into the bullets (one in each, not mixed) I add a little yogurt and formula to help liquify it more. I puree and then put into the ice cube trays.
Step 5: I put the whole peach into a pan and boil it until soft, then I let cool and peel.
Step 6: So I have never had a mango before, weird I know. But anyways, so T and I had NO idea how the heck to even peel one? So long story & several failed attempts we finally youtube it. HA! Anyways, I wasn't sure if I needed to cook the mango but I felt safer and better doing so. I just popped it into the microwave and used the "Fresh Fruit" option on my microwave. It went for about 2-3 minutes. Then the mango didn't need anything else and it pureed awesome!

Step 7: The peaches were the last to do, and I just added some yogurt and formula in with them. I felt it was kind of a "peaches & cream" mixture!
Step 8: I leave on my counter until it all cools to room tempter then I put in the freezer! After it has frozen ( I leave it in for overnight ) I put it into breast milk storage bags (because I have a million left over) and label it.

All in all I made about 6 weeks worth of food in about an hour. It didn't take long at all and was super easy. I love knowing that I made Arch's food homemade and that I know exactly what he is eating. Some people will mix and freeze their fruits+vegetables but I choose to all mine separate. Then when it comes time to eat, I just pop an apple, blueberry & strawberry into a bowl and microwave. Then I always add rice or oatmeal cereal and yogurt. He LOVES it. This is his morning routine and he gobbles it down! It works really well for me and I tend to make new food every other Sunday. I do vegetables and fruits on separate Sundays.
Hope this helps you with your baby food making!!
Archers favorite recipes//
•strawberry, blueberry, Apple mixed with cereal & yogurt
•green beans & carrots
•Apricots & yogurt
•peaches & cream
•yellow squash
•pineapple & blueberries
Labels: motherhood